Introduction
From your morning coffee maker to your trusty blender, small home appliances work hard every day. Over time, they collect grease, mineral deposits, and stubborn residue that can affect their performance. While a quick wipe-down helps, it often misses the buildup hidden in tiny crevices and hard-to-reach parts. That’s where an ultrasonic cleaner comes in. With powerful yet gentle cleaning technology, it can breathe new life into your appliances and save you money on replacements.
What Is an Ultrasonic Cleaner?
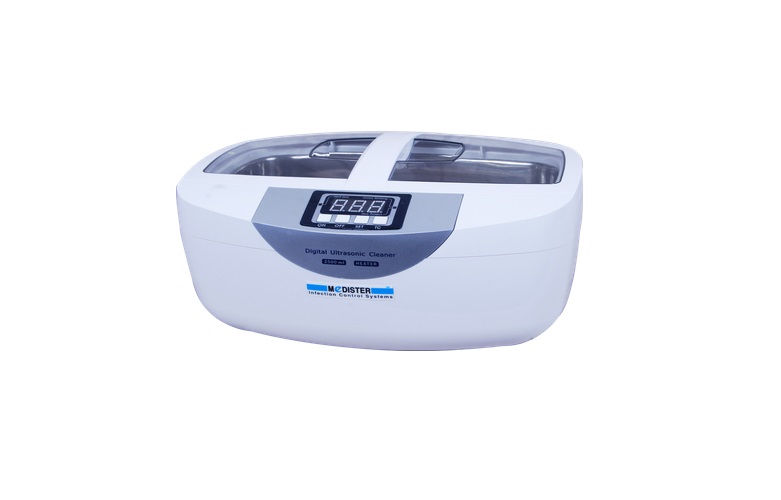
An ultrasonic cleaner uses high-frequency sound waves and water (often with a mild cleaning solution) to create microscopic bubbles. These bubbles implode on contact, gently loosening dirt, grease, and grime—even from the tiniest cracks and corners. Unlike scrubbing or soaking, ultrasonic cleaning is both more thorough and safer for delicate materials. For homeowners looking to get the most value, choosing the best ultrasonic cleaner ensures powerful cleaning performance while remaining safe for everyday appliance parts.
Why Use Ultrasonic Cleaning for Home Appliances?
There are plenty of reasons ultrasonic cleaning makes sense for the small appliances you use every day:
- Deep cleaning power: It removes hidden buildup that traditional methods can’t reach.
- Gentle but effective: Safe for metal, plastic, and other sensitive components.
- Time-saving: Cleans in just minutes with minimal effort.
- Cost-effective: Helps extend the lifespan of your appliances, reducing the need for replacements.
Common Small Appliances You Can Clean
Not every appliance can go into an ultrasonic cleaner, but many of their parts can. Here are some good candidates:
- Coffee makers – metal filters, removable drip trays, and small plastic parts.
- Blenders and food processors – blades, gaskets, and detachable containers.
- Electric razors, trimmers, and toothbrush heads – ideal for cleaning away hair, residue, and toothpaste buildup.
- Juicers and kettles – removable strainers and spouts.
- Steam irons – only detachable, non-electrical parts.
Step-by-Step Guide: How to Use an Ultrasonic Cleaner Safely
Getting started is easy. Here’s a simple routine:
- Disassemble – Remove any parts of the appliance that are safe to clean.
- Fill the tank – Add water and, if needed, a few drops of ultrasonic cleaner solution.
- Place items inside – Use the basket to keep parts from touching the tank directly.
- Run the cycle – Most clean in 3–10 minutes.
- Rinse and dry – Thoroughly rinse items with clean water and dry before reassembling.
Do use warm water for better results.
Don’t add harsh chemicals that might damage the material.
Tips for Getting the Best Results
- Clean your appliance parts regularly to prevent stubborn buildup.
- For greasy components, add a drop of dish soap to the water.
- Always dry parts completely before putting them back into the appliance.
- Use the cleaner as part of your routine appliance care to keep everything running smoothly.
When Not to Use an Ultrasonic Cleaner
While ultrasonic cleaners are versatile, they’re not suitable for everything. Avoid cleaning:
- Electrical or motorized components.
- Soft plastics or painted surfaces that may peel.
- Items with glued joints that could weaken in water.
Conclusion
An ultrasonic cleaner is more than just a gadget—it’s a practical tool that can revive your small home appliances, improve their performance, and extend their lifespan. By removing dirt and buildup that traditional cleaning can’t touch, you’ll save time, money, and reduce waste. Whether it’s your blender blades, coffee maker parts, or electric razor, ultrasonic cleaning helps keep your appliances working like new.


